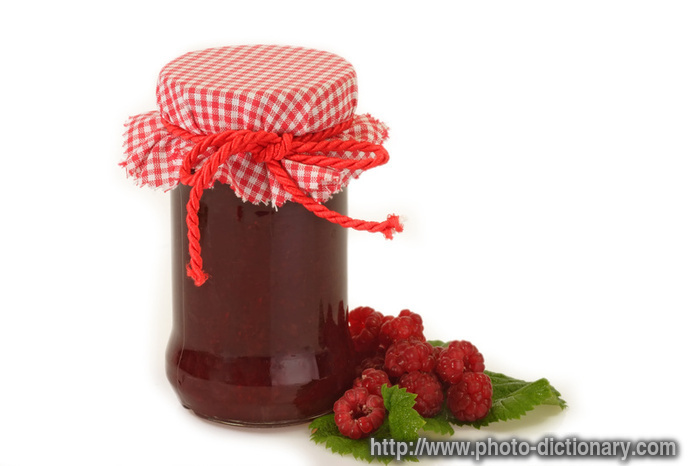
Raspberry Jam Recipe
Making delicious jam can be relatively simple if you prepare it with this streamlined method. Fruit is particularly amenable to canning because of the acid that it contains. Adding sugar
in high concentration will also help with preservation. Many recipes
call for extended boiling to reduce the volume (i.e. reduction) but if
the sugar is added up front, it minimizes the boiling step and preserves
more flavor. If you are a jam-making novice, raspberry jam is a good one to start with as it’s so quick.
Before you start, sterilize your jars (see
tip below) and put a plate in the
freezer to chill. Tip half the raspberries
into a preserving pan and add the lemon
juice. Mash the berries to a pulp over the
heat with a potato masher, then leave to
cook for 5 min. Tip the cooked berries
into a sieve over a bowl, then once all
of the juice has drained off, firmly work
the pulp through the sieve with a
wooden spoon until you are left with
just the seeds.
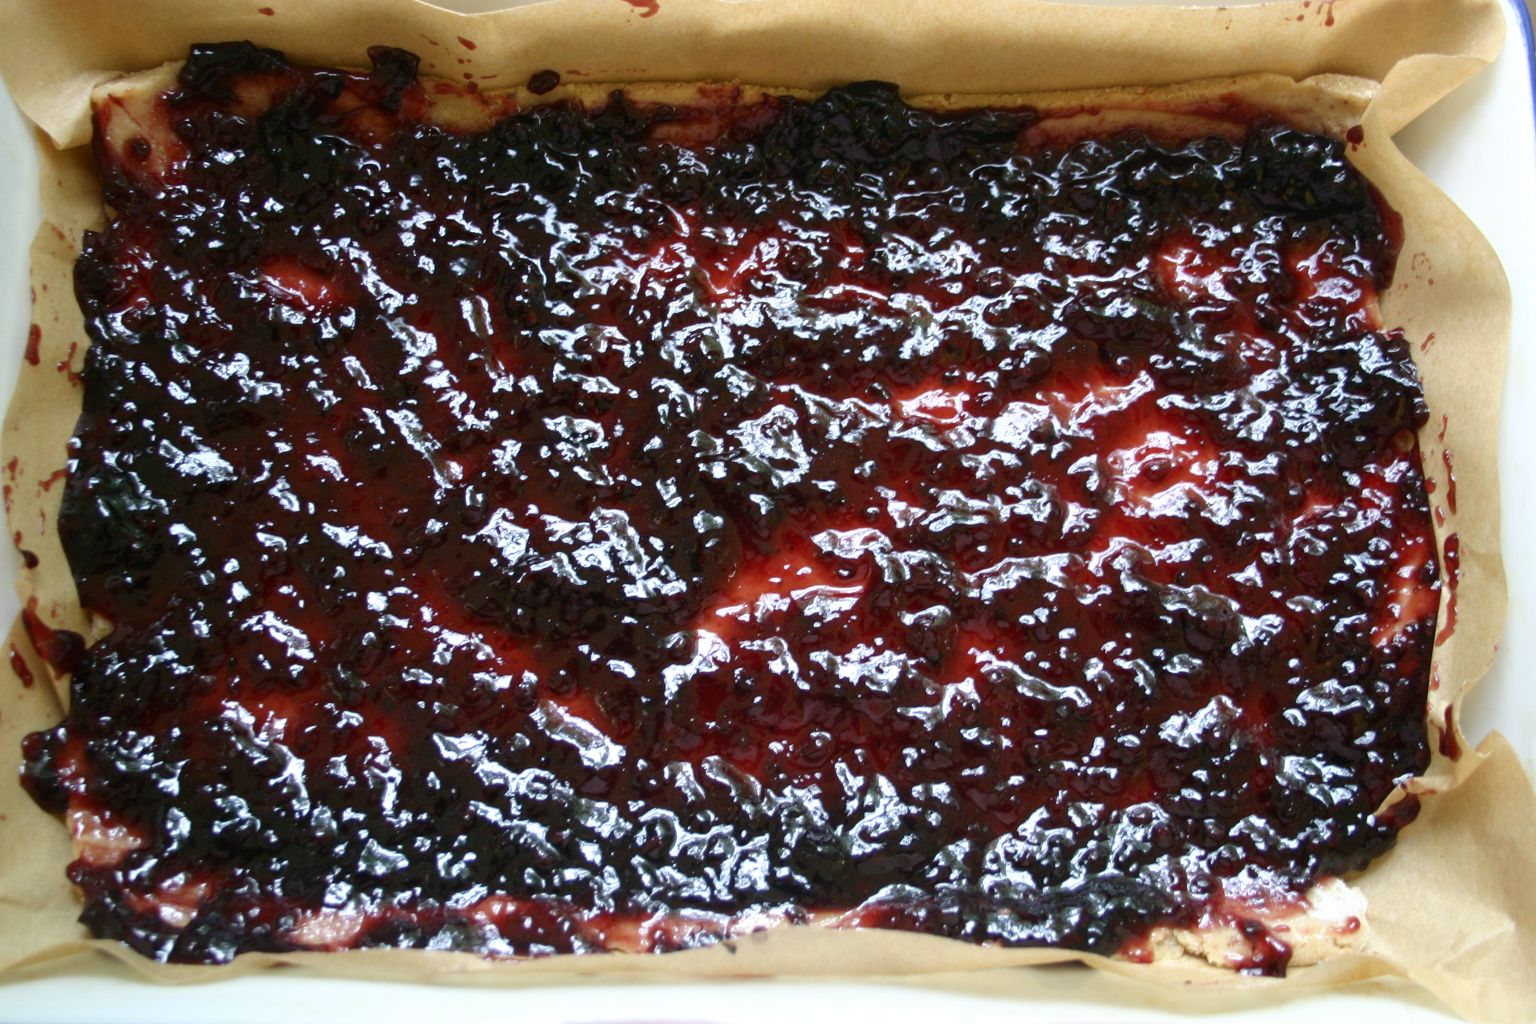
Tip the juice and pulp back into the preserving pan and stir in the sugar. Heat gently, then add the remaining whole raspberries. Bring to the boil, then boil rapidly for 5 mins. Remove from the heat and drop a little jam onto the chilled plate. Now push your finger through it - it should wrinkle and look like jam. If it doesn't, boil for 2 min, then test again.
The top of the jam may look like it has sediment on it, but I find that if you stir it well as it cools, a little of this disappears. Pour into the jars and seal. It will keep unopened for a year, although the lovely bright color will darken a little. Once open, keep in the fridge.
Raspberry Jam

Raspberry Jam

Raspberry Jam

Raspberry Jam

Raspberry Jam

Raspberry Jam
Raspberry Jam

Raspberry Jam

Raspberry Jam

Raspberry Jam
Raspberry Jam

Raspberry Jam

No comments:
Post a Comment