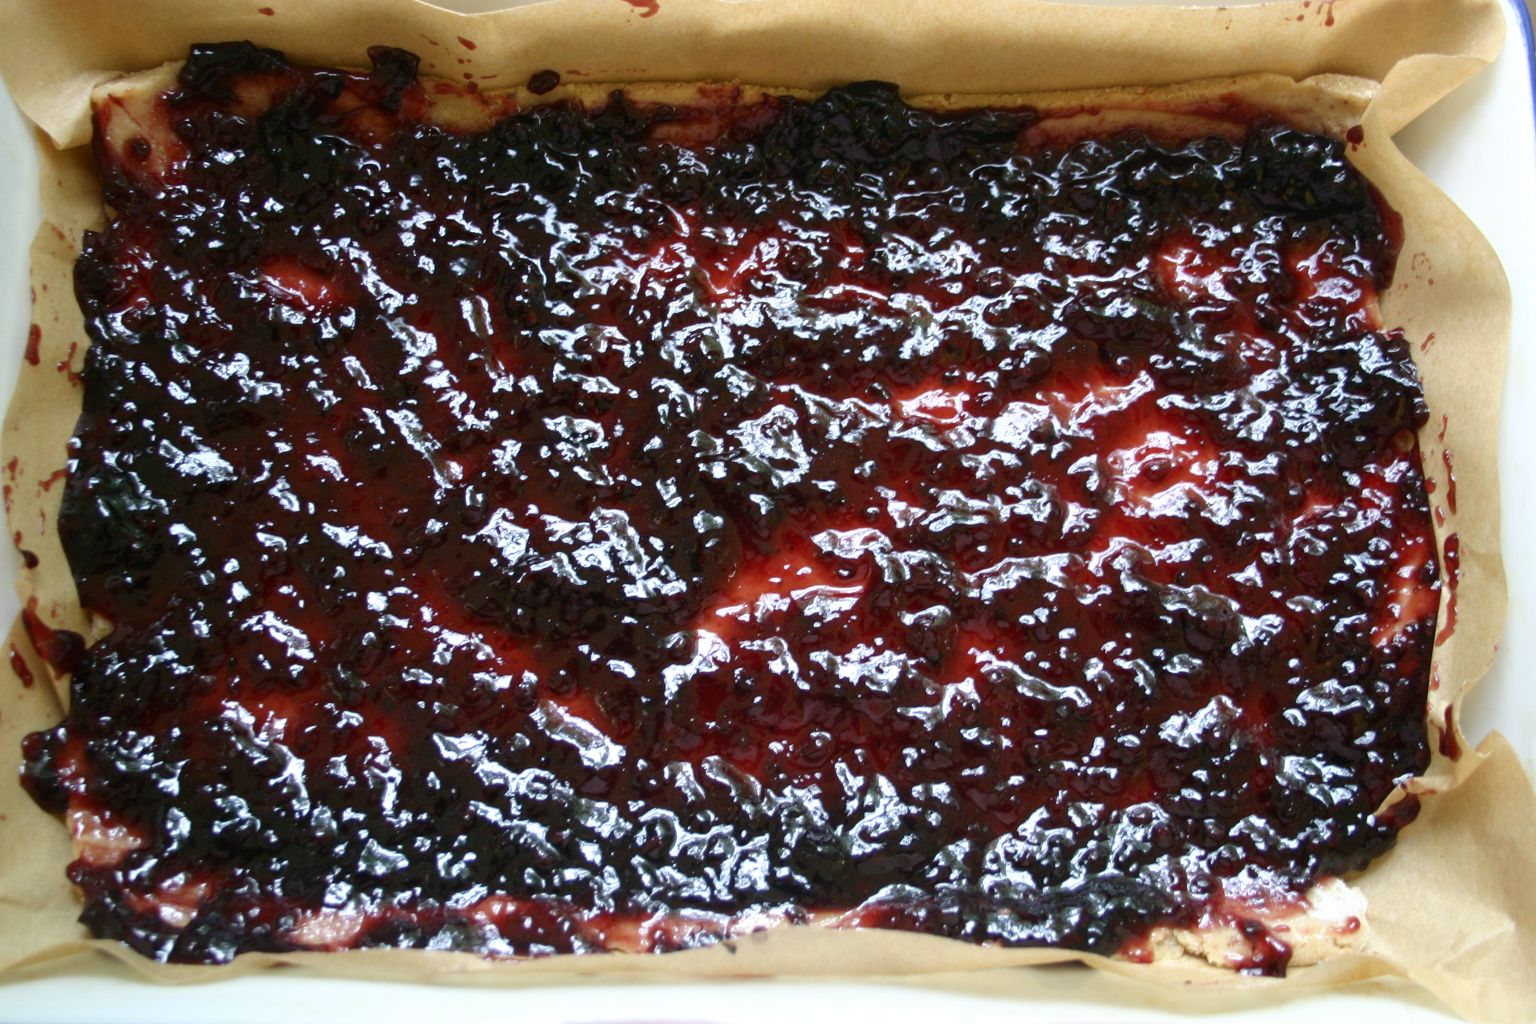
High-pectin fruits include: blackcurrants, redcurrants, cooking apples,
damsons, quinces, gooseberries and some plums. Low-pectin fruits
include: blackberries, cherries, elderberries, pears, rhubarb,
strawberries and medlars. Commercial pectin is readily available and can
be added to low-pectin fruits if necessary to ensure a good set - it
should be added to the fruit before the sugar.
Store preserves in a cool, dry area, away from direct sunlight, and use within one year.
When making jam, always use fruit that's in peak condition,
preferably slightly under-ripe, when the pectin content will be at its
highest. Over-ripe or damaged fruit is not ideal - the jam will not set
well and is likely to deteriorate rapidly. The amount of sugar you need
to make jam depends on the amount of pectin in your chosen fruit, but
generally the fruit-to-sugar ratio for traditional jams is 1:1 (ie.
450g/1lb sugar to 450g/1lb fruit). Coarse-grain white granulated sugar
is best for jam-making as it ensures a good clear jam, but fine caster
sugar can also be used. The coarse grains dissolve more slowly and
evenly, giving a better result. Granulated sugar with added pectin is
also available, but it shouldn't be necessary to use this. Instead, if
using fruit with a low pectin content, such as strawberries, try adding
some fruit with a higher pectin content, such as apples, damsons or
redcurrants to improve the result. Alternatively, adding a few squeezes
of lemon juice to low-pectin fruits will help them set.
The
magical temperature in jam making is 104C/220F, also known as the
'setting point'. You can buy a preserving or sugar thermometer to test
when jam reaches this point, but it's not essential. To test for setting
without a thermometer, put a drop of the jam onto a very cold saucer
(you'll need to put the saucer into the fridge or freezer first to
ensure it's really cold). After a few seconds, push the jam with your
finger. If the jam surface wrinkles then it has reached setting point
and is ready. If it's not ready then continue to boil, testing every few
minutes.
How to sterilise jam jars: wash in soapy water, rinse
well and then place into a cool oven - 130C/250F/Gas ½ - for 15-20
minutes. As soon as you've poured the jam into the sterilised jars you
should immediately cover the surface of it with wax paper discs. This
ensures a good seal and prevents mildew appearing on the surface of the
jam.
This recipe comes from my battered old copy of Delia Smith's Complete Cookery Course,
circa 1985. I first tried it 18 years ago, it worked wonderfully and so
I've never had cause to try another version. Of all the jams I make,
this is the one that the recipients consistently lavish praise on and is
brilliant as a first recipe - if you're new to jam making - as the high
pectin content ensures it sets quite reliably. If you have made jam
before, please excuse my attention to all the fiddly details. We were
all beginners once and these are the things I wish someone had initially
shared with me! However, if you are a novice,
Ingredients:-
2lb of blackcurrants.1 pint of water.2lb 8oz of granulated sugar.(Possibly) A small knob of butter.Put a couple of saucers into the freezer or the ice making
compartment of your fridge. Don't use your best china ones; I use odd
ones bought from the car boot for 20p! Do this at the beginning and they
will be nice and cold for when you need them later. Then pre-heat the
oven to Gas Mark 3 (or equivalent).
Pick over the fruit, discarding any stalks or leafy bits, then tip
into a colander and rinse under the cold tap. (For some strange
reason, the bits of leaf, grass seed, etc are easier to extract while
the fruit is dry!) Tip the washed fruit into a jam pan, add the water and cook over a
low heat until the berries have softened. It's very important that the
fruit is soft before adding the sugar, as they will not soften further
once the sugar is added. Though - ideally - you want as much whole
fruit in your jam as possible, you do not want it to have the
consistency of little bullets! Once the currants are soft enough they
will squash easily with a wooden spoon against the side of the pan. I
have found, though, that using frozen fruit cuts down on the time the
blackcurrants take to soften.
Once the blackcurrants are simmering gently, tip the sugar into an
ovenproof container - I use a large roasting tin - and put it in the
oven for 10 minutes or so until the fruit is tender. When the fruit is
cooked, add the hot sugar to the jam pan and stir gently to incorporate.
Try not to get the sugar crystals up the sides of the pan as this makes
them dificult to dissolve.(Tip: sugar crystals can be washed off the
sides of the pan using a pastry brush and a little water). Leave the mixture on a low heat for 15 minutes or so, stirring
occasionally, until the sugar has dissolved completely. If you check the
back of your wooden spoon there should be no sugar crystals remaining,
nor any gritty bits scratching on the bottom of the pan as you stir.
It's very important that no sugar crystals are left or the finished jam
will go sugary.
As soon as the sugar has dissolved, turn the heat up as high as it
will go and boil the jam rapidly for 10 minutes. Then remove it from
the heat, spoon a little onto one of your cooled plates, and when it's
cool push the jam with your little finger. If a crinkly skin has formed,
it's set. If not, boil it again rapidly for five minutes and test again
and carry on like this until the jam has set. (I scrape any unset jam
back from the saucer into the pan and return the saucer to the freezer
for further testing).
Ignore any scum while the jam is boiling, but as soon as it's set,
add a little knob of butter and stir well to get rid of most of it. Any
scum remaining can be removed with a slotted spoon but be careful only
to remove the scum and not a lot of jam along with it. Besides, the scum
is not harmful; it just looks unsightly! Once you've got a set and skimmed the scum, then put your jars to
warm in the oven. It helps to loosen the lids prior to putting them in
the oven so that you don't burn your fingers trying to unscrew them when
they're hot! Cold jars would crack when the hot jam was put into them
and heating them up also keeps them sterile and reduces the chances of
mould spoiling the finished jam. The jam can settle while the jars warm
up for 10 minutes. They will be very hot when you take them out and I
handle mine first with oven gloves and then with a thick,
damp dishcloth, folded over a few times.
A jam funnel is useful for filling the hot jars to prevent the jam
dribbling down the jar sides. You can use a jug dipped in the jam but I
prefer to use a ladle as I find it easier to see when the jar is full.
Fill them right to the top and cover straight away with waxed discs,
waxed side onto the jam to form a seal. Then screw on the lid
immediately. If you are using jars with the safety tops you will hear
the lids 'pop' as the jam starts to cool, forming a really tight seal.
When the jam is cold, wipe the jars with a damp cloth to remove any
spills and label when the jars have dried. If I have just a little jam
left in the pan - but not enough to fill a jar - I spoon it onto the
saucer I used to test for a set. Once cooled, I cover it with clingfilm
and put it in the fridge. It's not really a hardship to consume it
within the next couple of days and it's better than wasting it.Spread it on scones, cakes or freshly-baked bread and await the applause!
There is nothing quite like homemade jam. It seems to taste so much
more like the fruit it came from than jams you buy at the store.
However, it’s no secret that jam is mostly sugar, and in fact, jam is
one of those things that is tricky to make sugar-free. This is because
it is sugar that gives jam its characteristic mouth feel, and also
because it acts as a preservative.
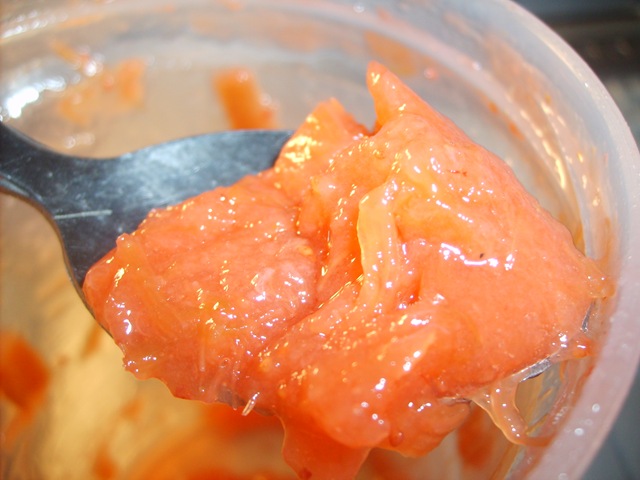
The first thing I tried was the simple route: I just added some water and artificial sweetener.and boiled
them down, hoping that the natural pectin would be enough. This
produced a spreadable puree with the blackberries, but it was very
concentrated (2 cups of berries made ½ cup of jam), and was generally
lacking in jamminess – it wasn’t cohesive enough, for lack of a better
word. By the next day, small pools of liquid needed to be stirred in.The strawberries didn’t work at all using this technique, even when I
pureed them in the blender first. The resulting mush in no way
resembled jam.
I had seen recipes for sugar-free strawberry jam which included
strawberry Jello. Since I was going for a fresh flavor, I decided to
try using unflavored gelatin. For the blackberries, a bit less than a
packet (a little less than 2 teaspoons) worked well for two cups of
blackberries mixed with 2/3 cup of water and sweetener to taste. This
produced a little less than a cup and a half of jam, and I liked the
consistency. It was a little “bouncy”, and needed to be stirred, but it
produced a credible and spreadable jam.
The strawberries did not come out as well, but it was OK. I used the
full packet (a little more than 2 teaspoons) for 1 cup of puree produced
by blending 2 cups of chopped strawberries with half a cup of water.
The taste was good, and it was spreadable, but the consistency wasn’t
quite right. Next time, I might try cooking the strawberries longer.
Combine fresh or frozen berries and water (1/4 cup per cup of berries
for not/Sugar and 1/3 cup for gelatin). Bring to a boil and cook
berries for 4 to 5 minutes. Mash the berries against the side of the
pot to break them down (or you can use a potato masher or stick
blender). Whisk in thickener in amounts as described above. Spoon
into clean freezer-safe containers, and cool.
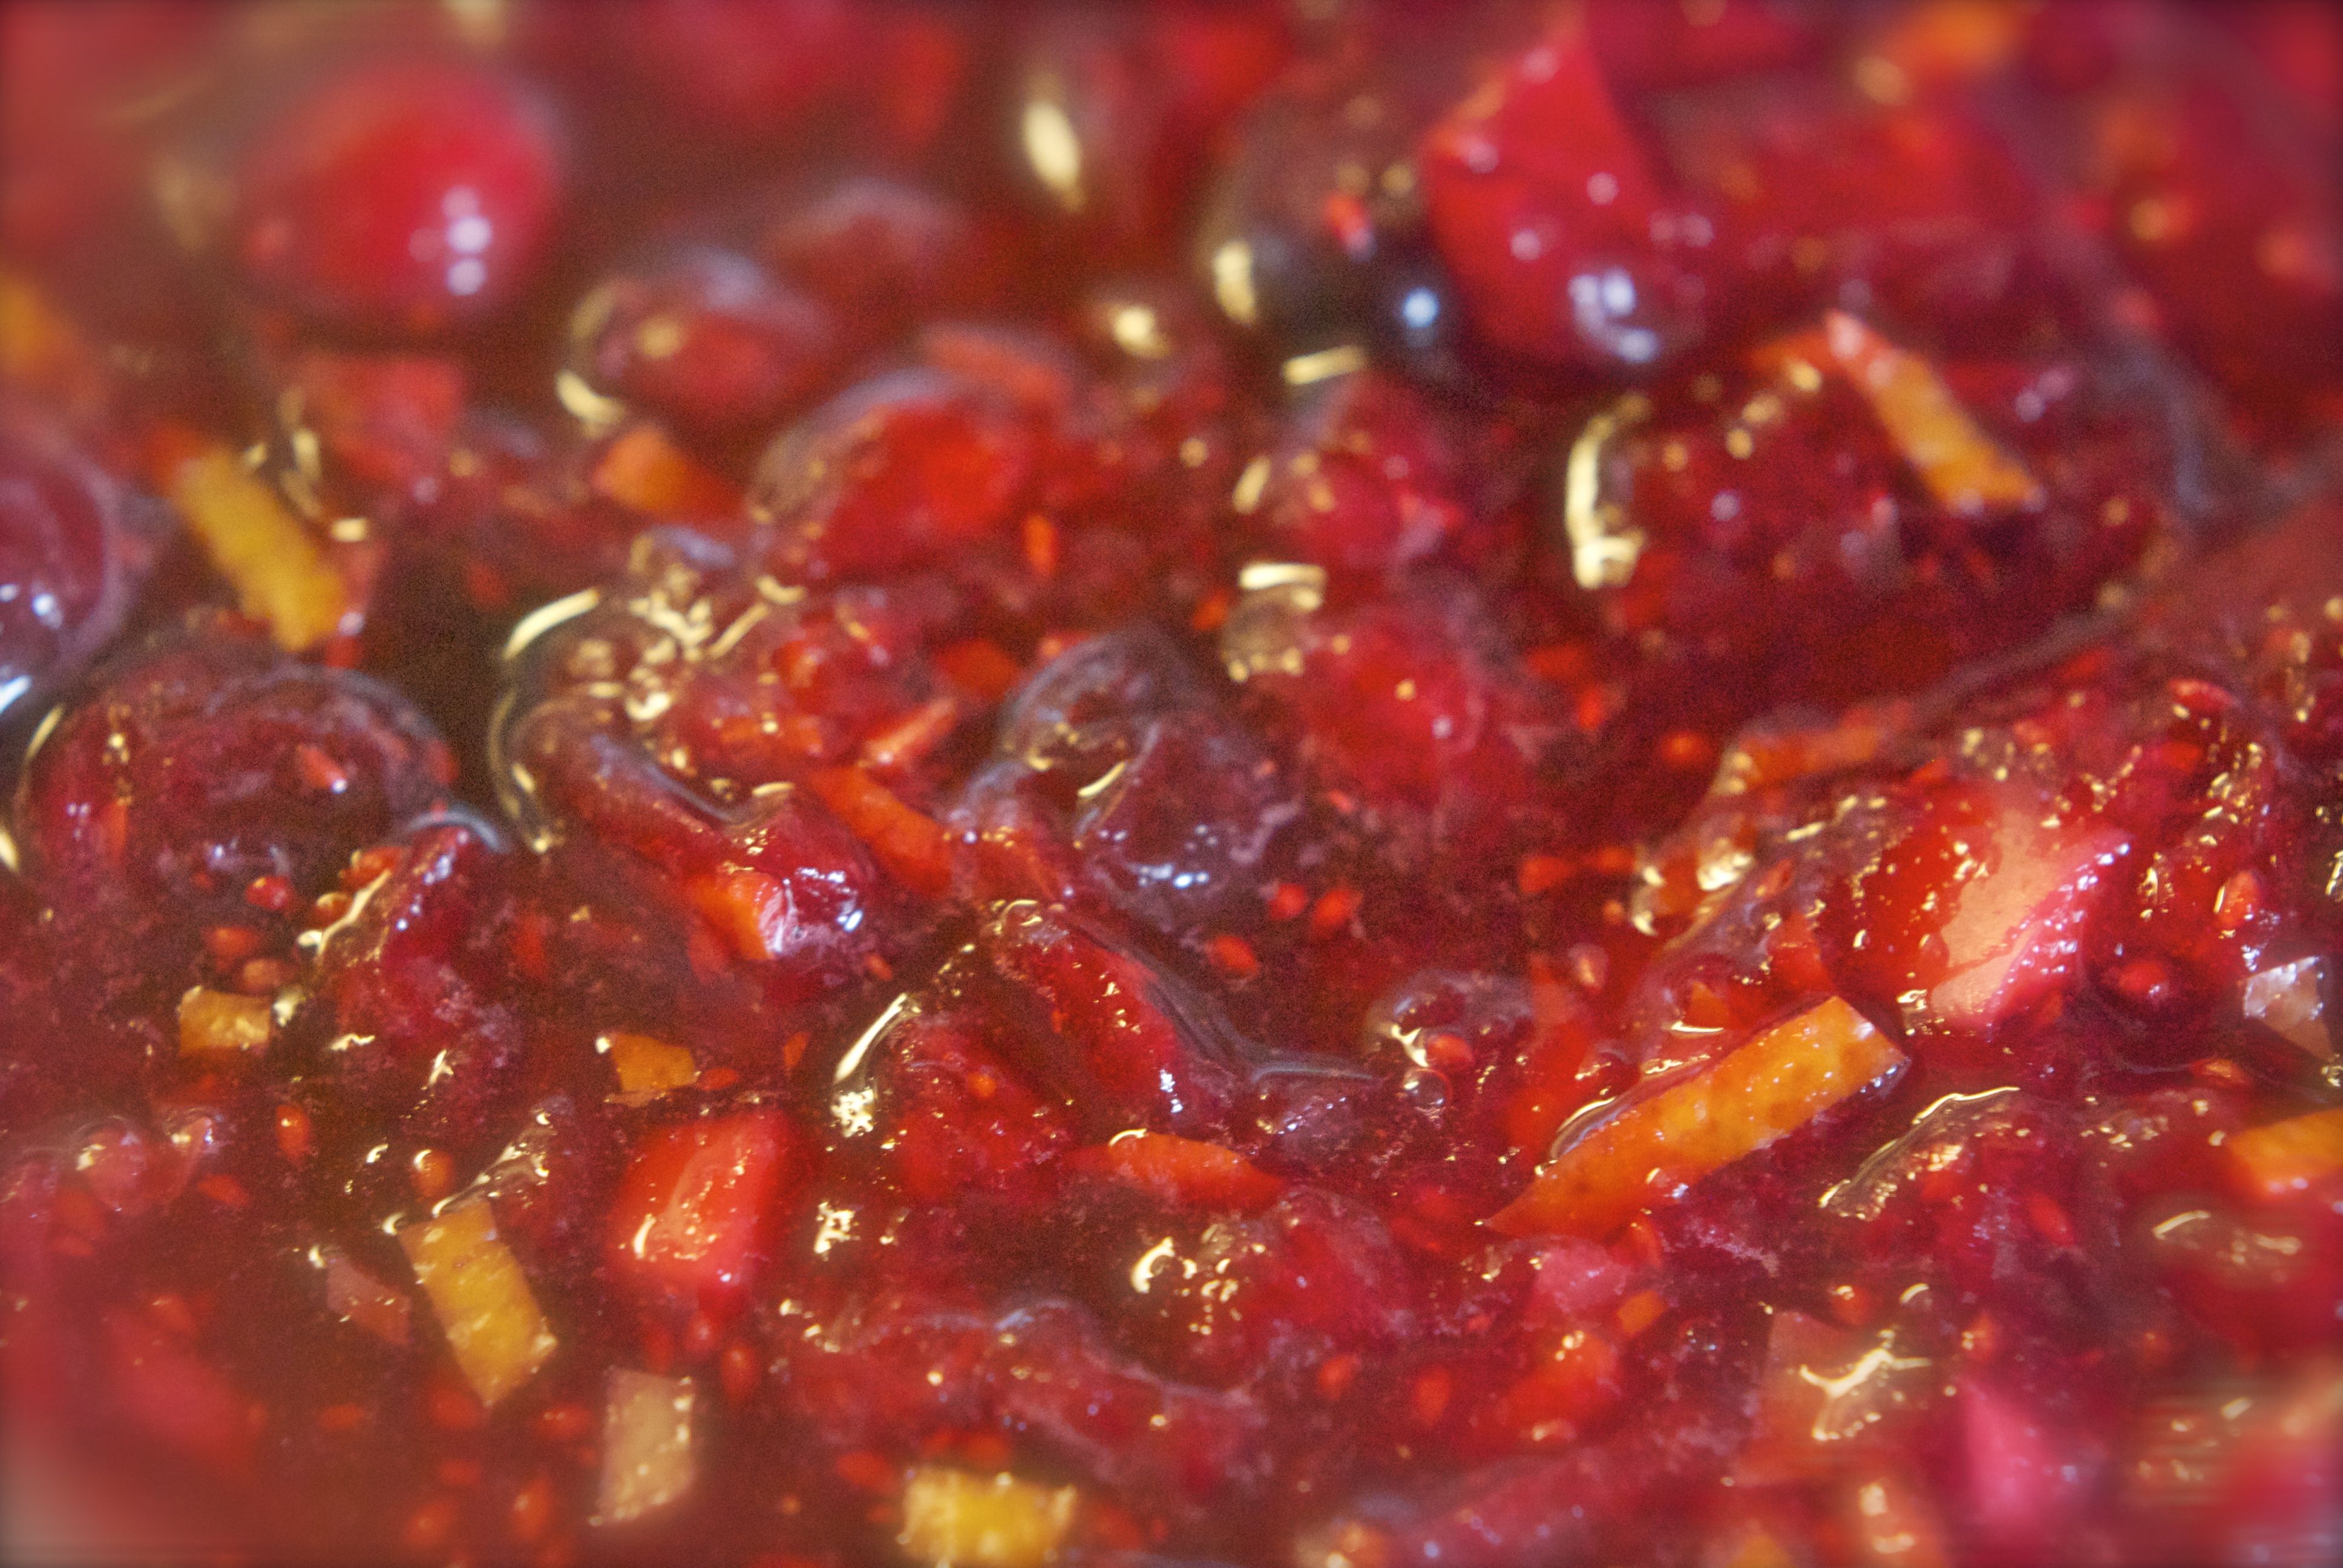
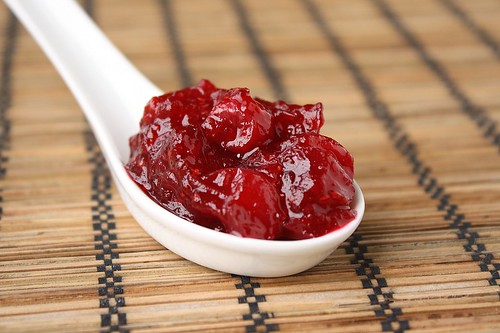
I chose the cranberry jam recipe because it's seasonal, sounded
delicious, and is the most riveting shade of ruby red you've ever seen.
If you've got lingonberries on-hand (which I never see at our markets),
those will work too. The jam is very easy to make, you start your
berries the night before and it only takes about 20 minutes or so to
make the jam and put it in jars the next morning. I didn't bother to
seal the jars, because I figure we will finish off the batch inside of
the week. Tomorrow I'll shop for some tasty walnut bread and maybe an
antique gruyere cheese to go with the jam - but it seems to go with just
about everything. If you've never tried making jam before, this is the
time to give it a shot.
Rinse the berries, if necessary, then drain well and put them in a
non-metallic bowl with the sugar and lemon juice. Leave overnight,
turning once or twice.
Coarsely grate the apple and put it into a jam-making pan or other
heavy based saucepan with the grated lemon rind. Strain in all the juice
from the berries (hs note: I didn't end up with a ton of juice, but
scraped all the thick, sugary juice in) and add two wooden spoonfuls of
berries, leaving the rest of the berries in the bowl for now. Add 1/2
cup (125 ml) water and simmer for 20-30 minutes, or until the apple is
very soft and the whole lot has thickened (hs note: I ended up ~10
minutes). Add the rest of the berries and heat through for 5-8 minutes.
Pour into sterilized jars. Seal tightly and turn upside down. Cover with
a cloth and leave to cool completely before turning upright and storing
in a cool place. The jam will keep for a couple months but, once open,
keep it in the fridge and use fairly quickly.
1.lb. 2 ounces (500 g) frozen or fresh lingo berries or cranberries.A scant cup (7 oz/200g) of caster (superfine) sugar (hs note: I just
gave my regular granulated sugar a whirl in the food processor for 15-20
seconds). Finely grated rind and juice of 1 lemon.1 small apple, peeled and cored.Depending on the tartness of the berries you may need to adjust the amount of sugar.
Making delicious jam can be relatively simple if you prepare it with this streamlined method. Fruit is particularly amenable to canning because of the acid that it contains. Adding sugar
in high concentration will also help with preservation. Many recipes
call for extended boiling to reduce the volume (i.e. reduction) but if
the sugar is added up front, it minimizes the boiling step and preserves
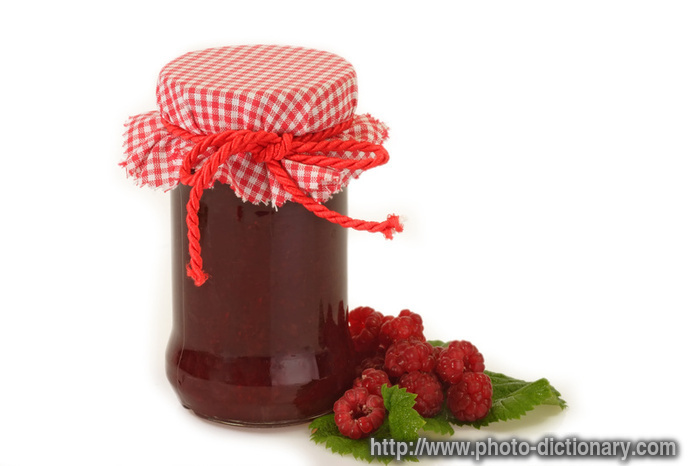
more flavor. If you are a jam-making novice, raspberry jam is a good one to start with as it’s so quick.
Before you start, sterilize your jars (see
tip below) and put a plate in the
freezer to chill. Tip half the raspberries
into a preserving pan and add the lemon
juice. Mash the berries to a pulp over the
heat with a potato masher, then leave to
cook for 5 min. Tip the cooked berries
into a sieve over a bowl, then once all
of the juice has drained off, firmly work
the pulp through the sieve with a
wooden spoon until you are left with
just the seeds.
Tip the juice and pulp back into the
preserving pan and stir in the sugar. Heat
gently, then add the remaining whole
raspberries. Bring to the boil, then boil
rapidly for 5 mins. Remove from the heat
and drop a little jam onto the chilled
plate. Now push your finger through it
- it should wrinkle and look like jam. If it
doesn't, boil for 2 min, then test again.
The top of the jam may look like it has
sediment on it, but I find that if you stir it
well as it cools, a little of this disappears.
Pour into the jars and seal. It will keep
unopened for a year, although the lovely
bright color will darken a little. Once
open, keep in the fridge.